What we're building, at a glance.
Eight nodes that turn flat product flatlays into a consistent, on-model photoshoot — same canvas produces both stills and motion.
The trick that makes this consistent: every visual element — products, model, scene — is converted to a precise text description first. The renderer reads the same text spec for every frame, which is why the model and outfits stay locked across an entire collection.
Turn flatlays into structured descriptions.
Drop each product flatlay into an image-to-text node. The job here isn't generation — it's extraction. You want a precise, shoppable description of every garment: silhouette, fabric, color, finish, hardware, fit. This text becomes the canonical reference the rest of the workflow uses.
- Use a strict description schema — silhouette, fabric, color, fit, hardware
- One flatlay per garment; don't combine items at this stage
- Save the text spec next to the flatlay — you'll reuse it across every shot of that garment
Lock the model identity.
Generate the model once, then describe them in detail with another image-to-text pass. This text spec is what keeps the model identical across hundreds of frames — face, body, hair, skin, posture. Without this step, the model drifts every render.
- Generate the model standing neutrally, full body, plain background
- Describe in granular detail — eye color, jaw shape, height proportions, hair texture
- Lock this spec. Every future render references the same text — that's the consistency trick
Describe the shoot itself.
This is your art direction layer — written once, applied to every frame. Camera angle, lens, light direction, color temperature, mood. Treat it like a DOP brief.
Camera:        Sony A7R IV, 50mm prime, f/2.8
Framing:       Full body, slight three-quarter angle, eye level
Light:         Soft natural daylight from camera left
               Warm afternoon, ~5500K, gentle falloff
Setting:       Sunlit Stockholm apartment, white plaster walls
               Wooden floor, minimal styling, calm and neutral
Mood:          Editorial, restrained, premium
Post: Slight film grain, neutral grade, no heavy contrast - Camera + lens — drives perspective, compression, depth of field
- Light — direction, quality, color temperature
- Setting — concrete place, never "stylish location"
- Mood — three adjectives, not seven
- Post — grade, grain, contrast — describe the finish, not the filter
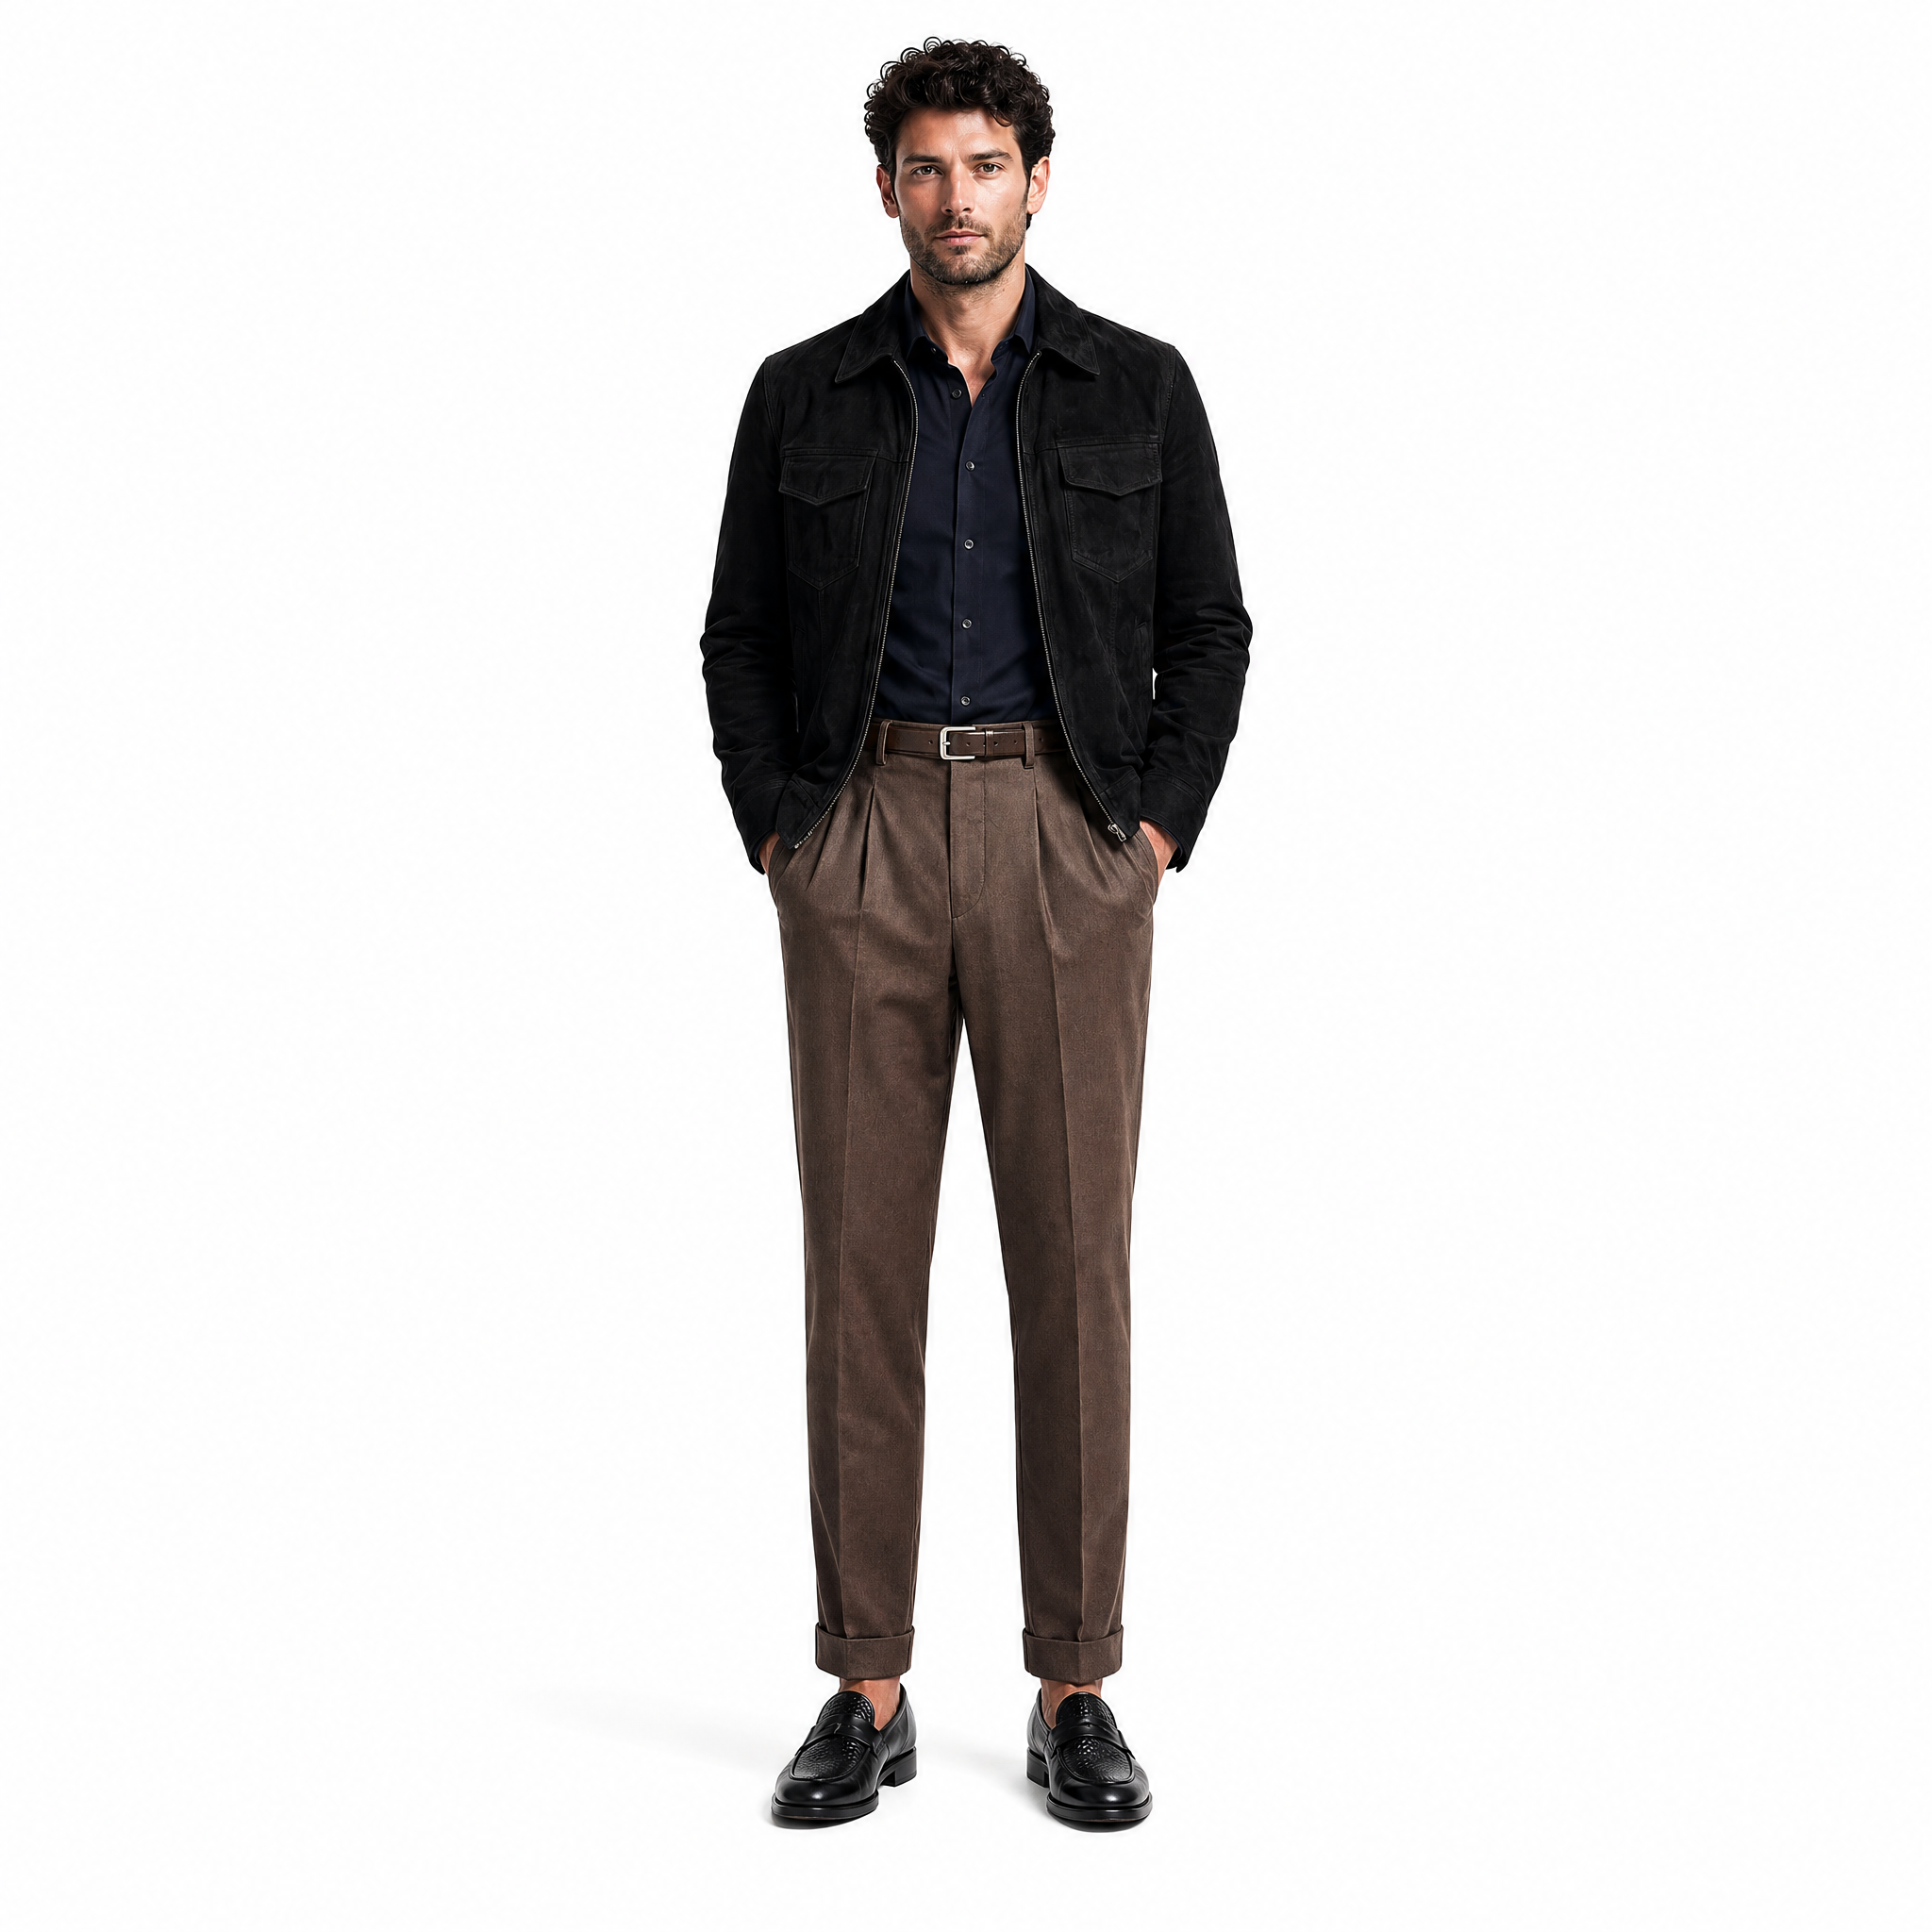
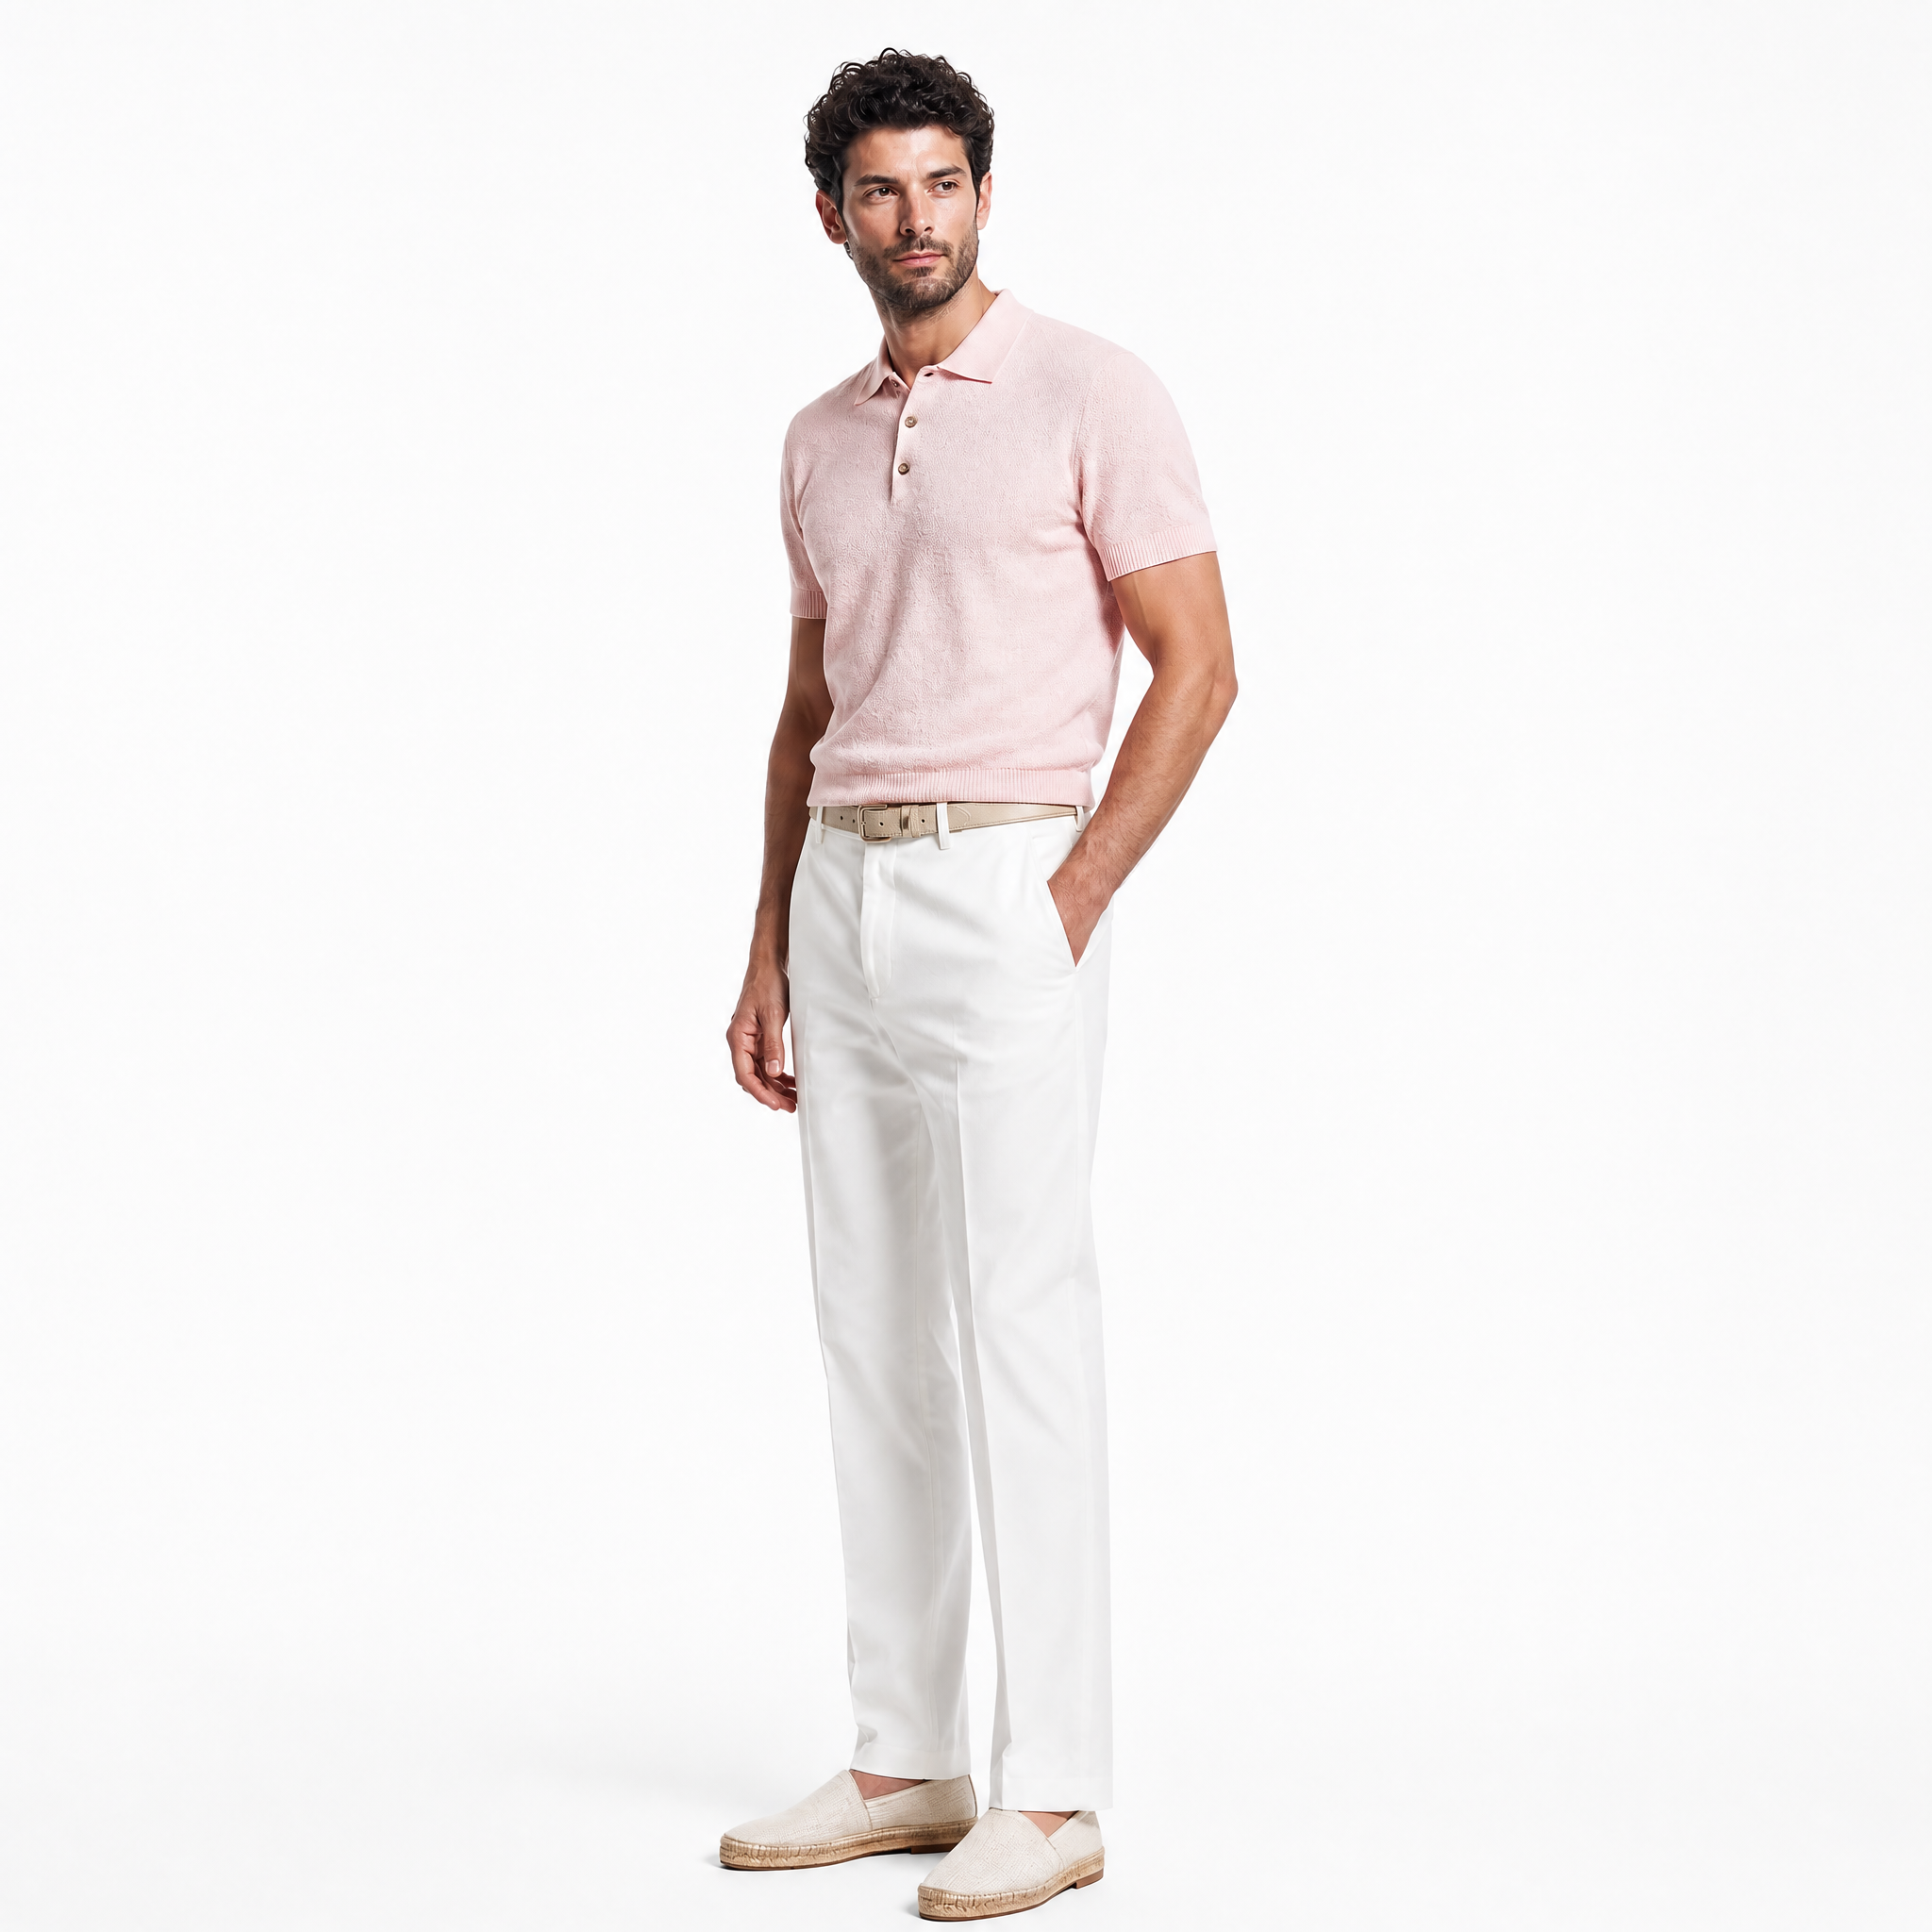
Put the full outfit on the model.
Now the three text specs come together — model, outfit (multiple garments), photo settings — and the renderer produces the first composite: the model wearing the styled outfit in the described scene. This is the canonical "look" frame.
Treat this output as the style master. Every per-garment shot you generate next will reference back to it visually — that's how the look stays internally consistent across the catalog.
- Generate 3–4 candidates of the look frame; pick the strongest
- Lock the seed and the look-frame reference once you have a winner
- If a garment drifts from its flatlay, regenerate with stronger weight on that product spec
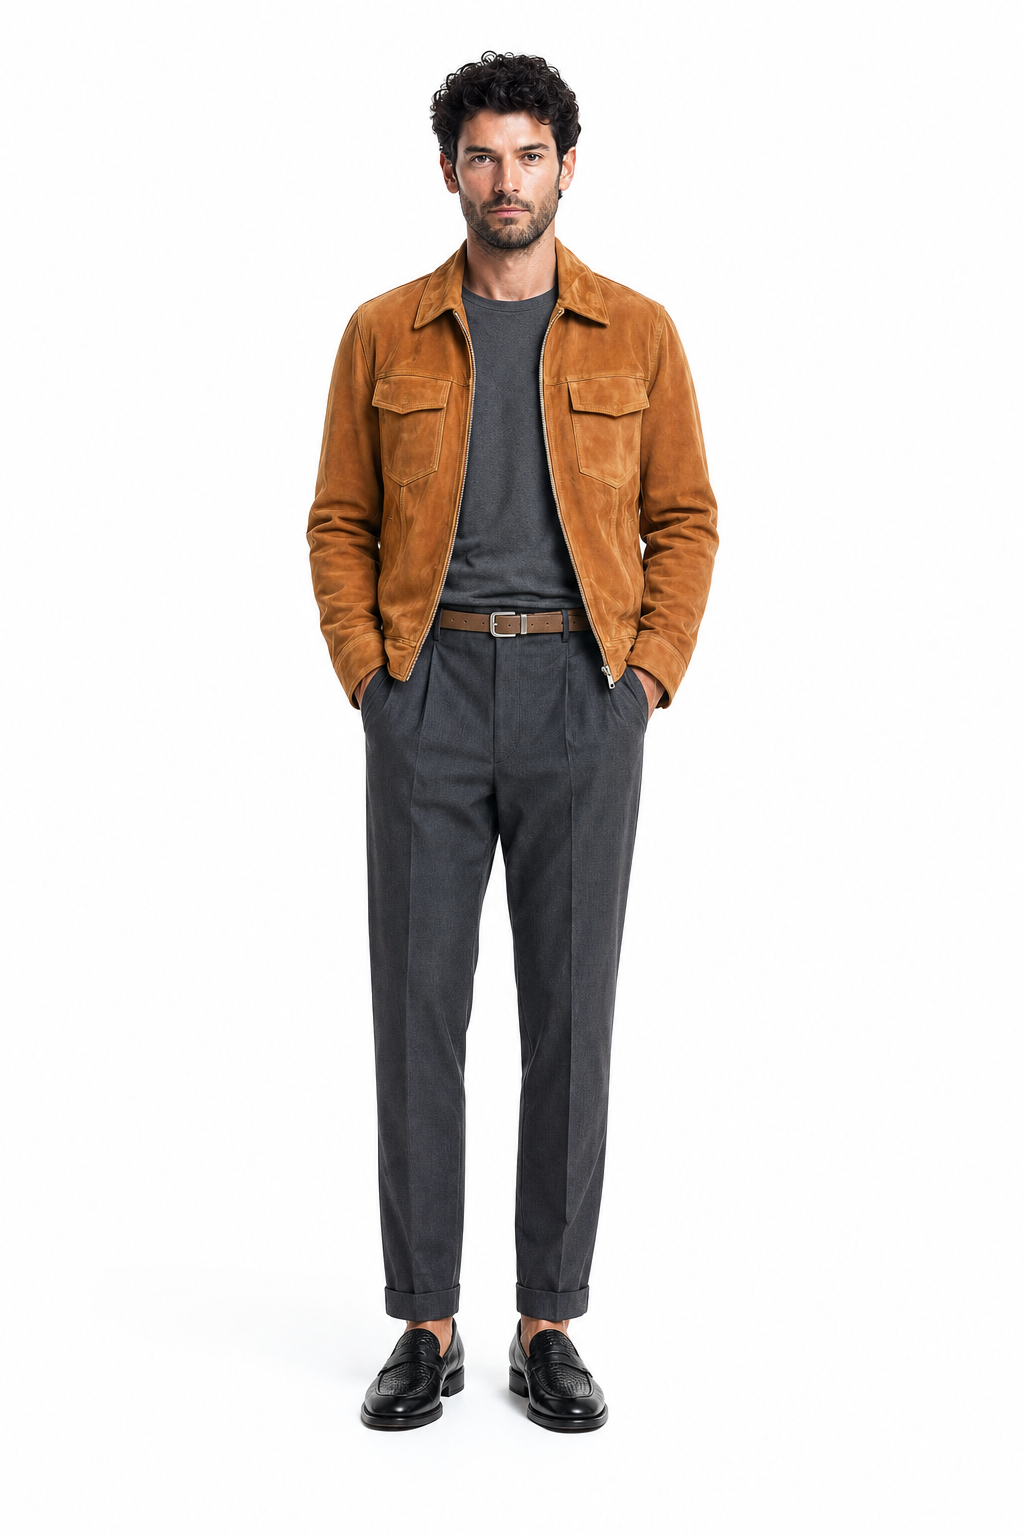
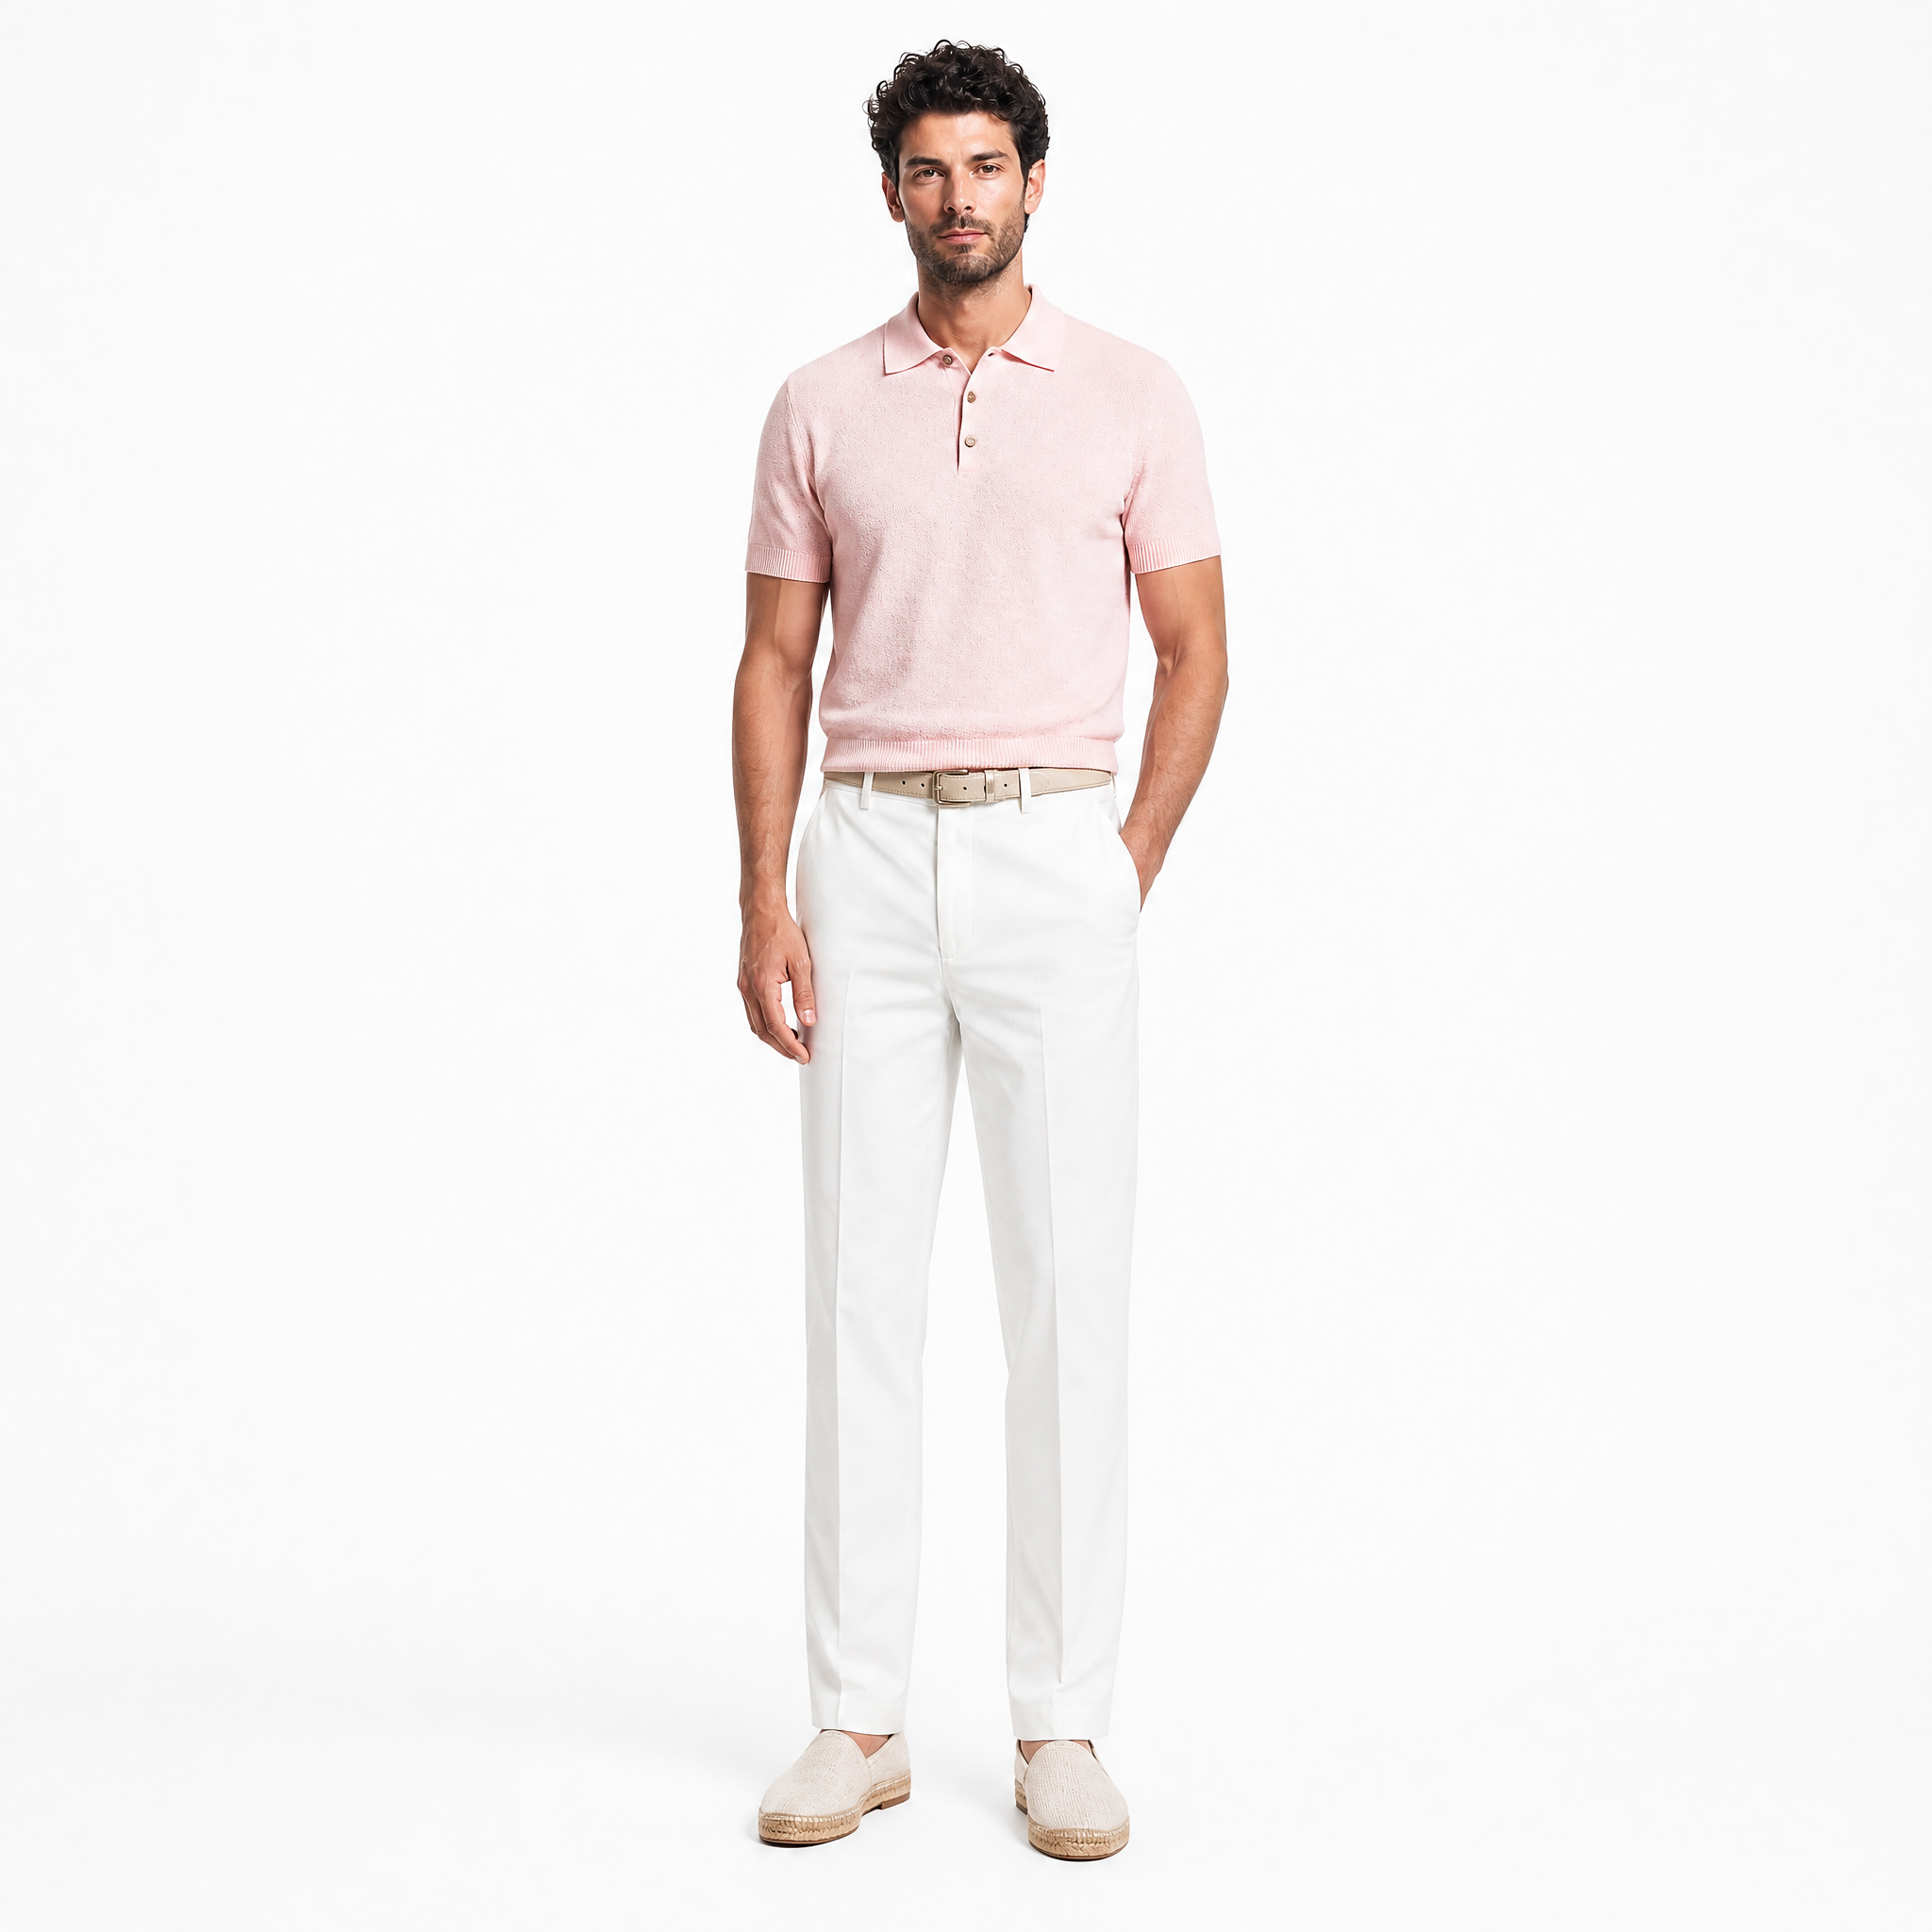
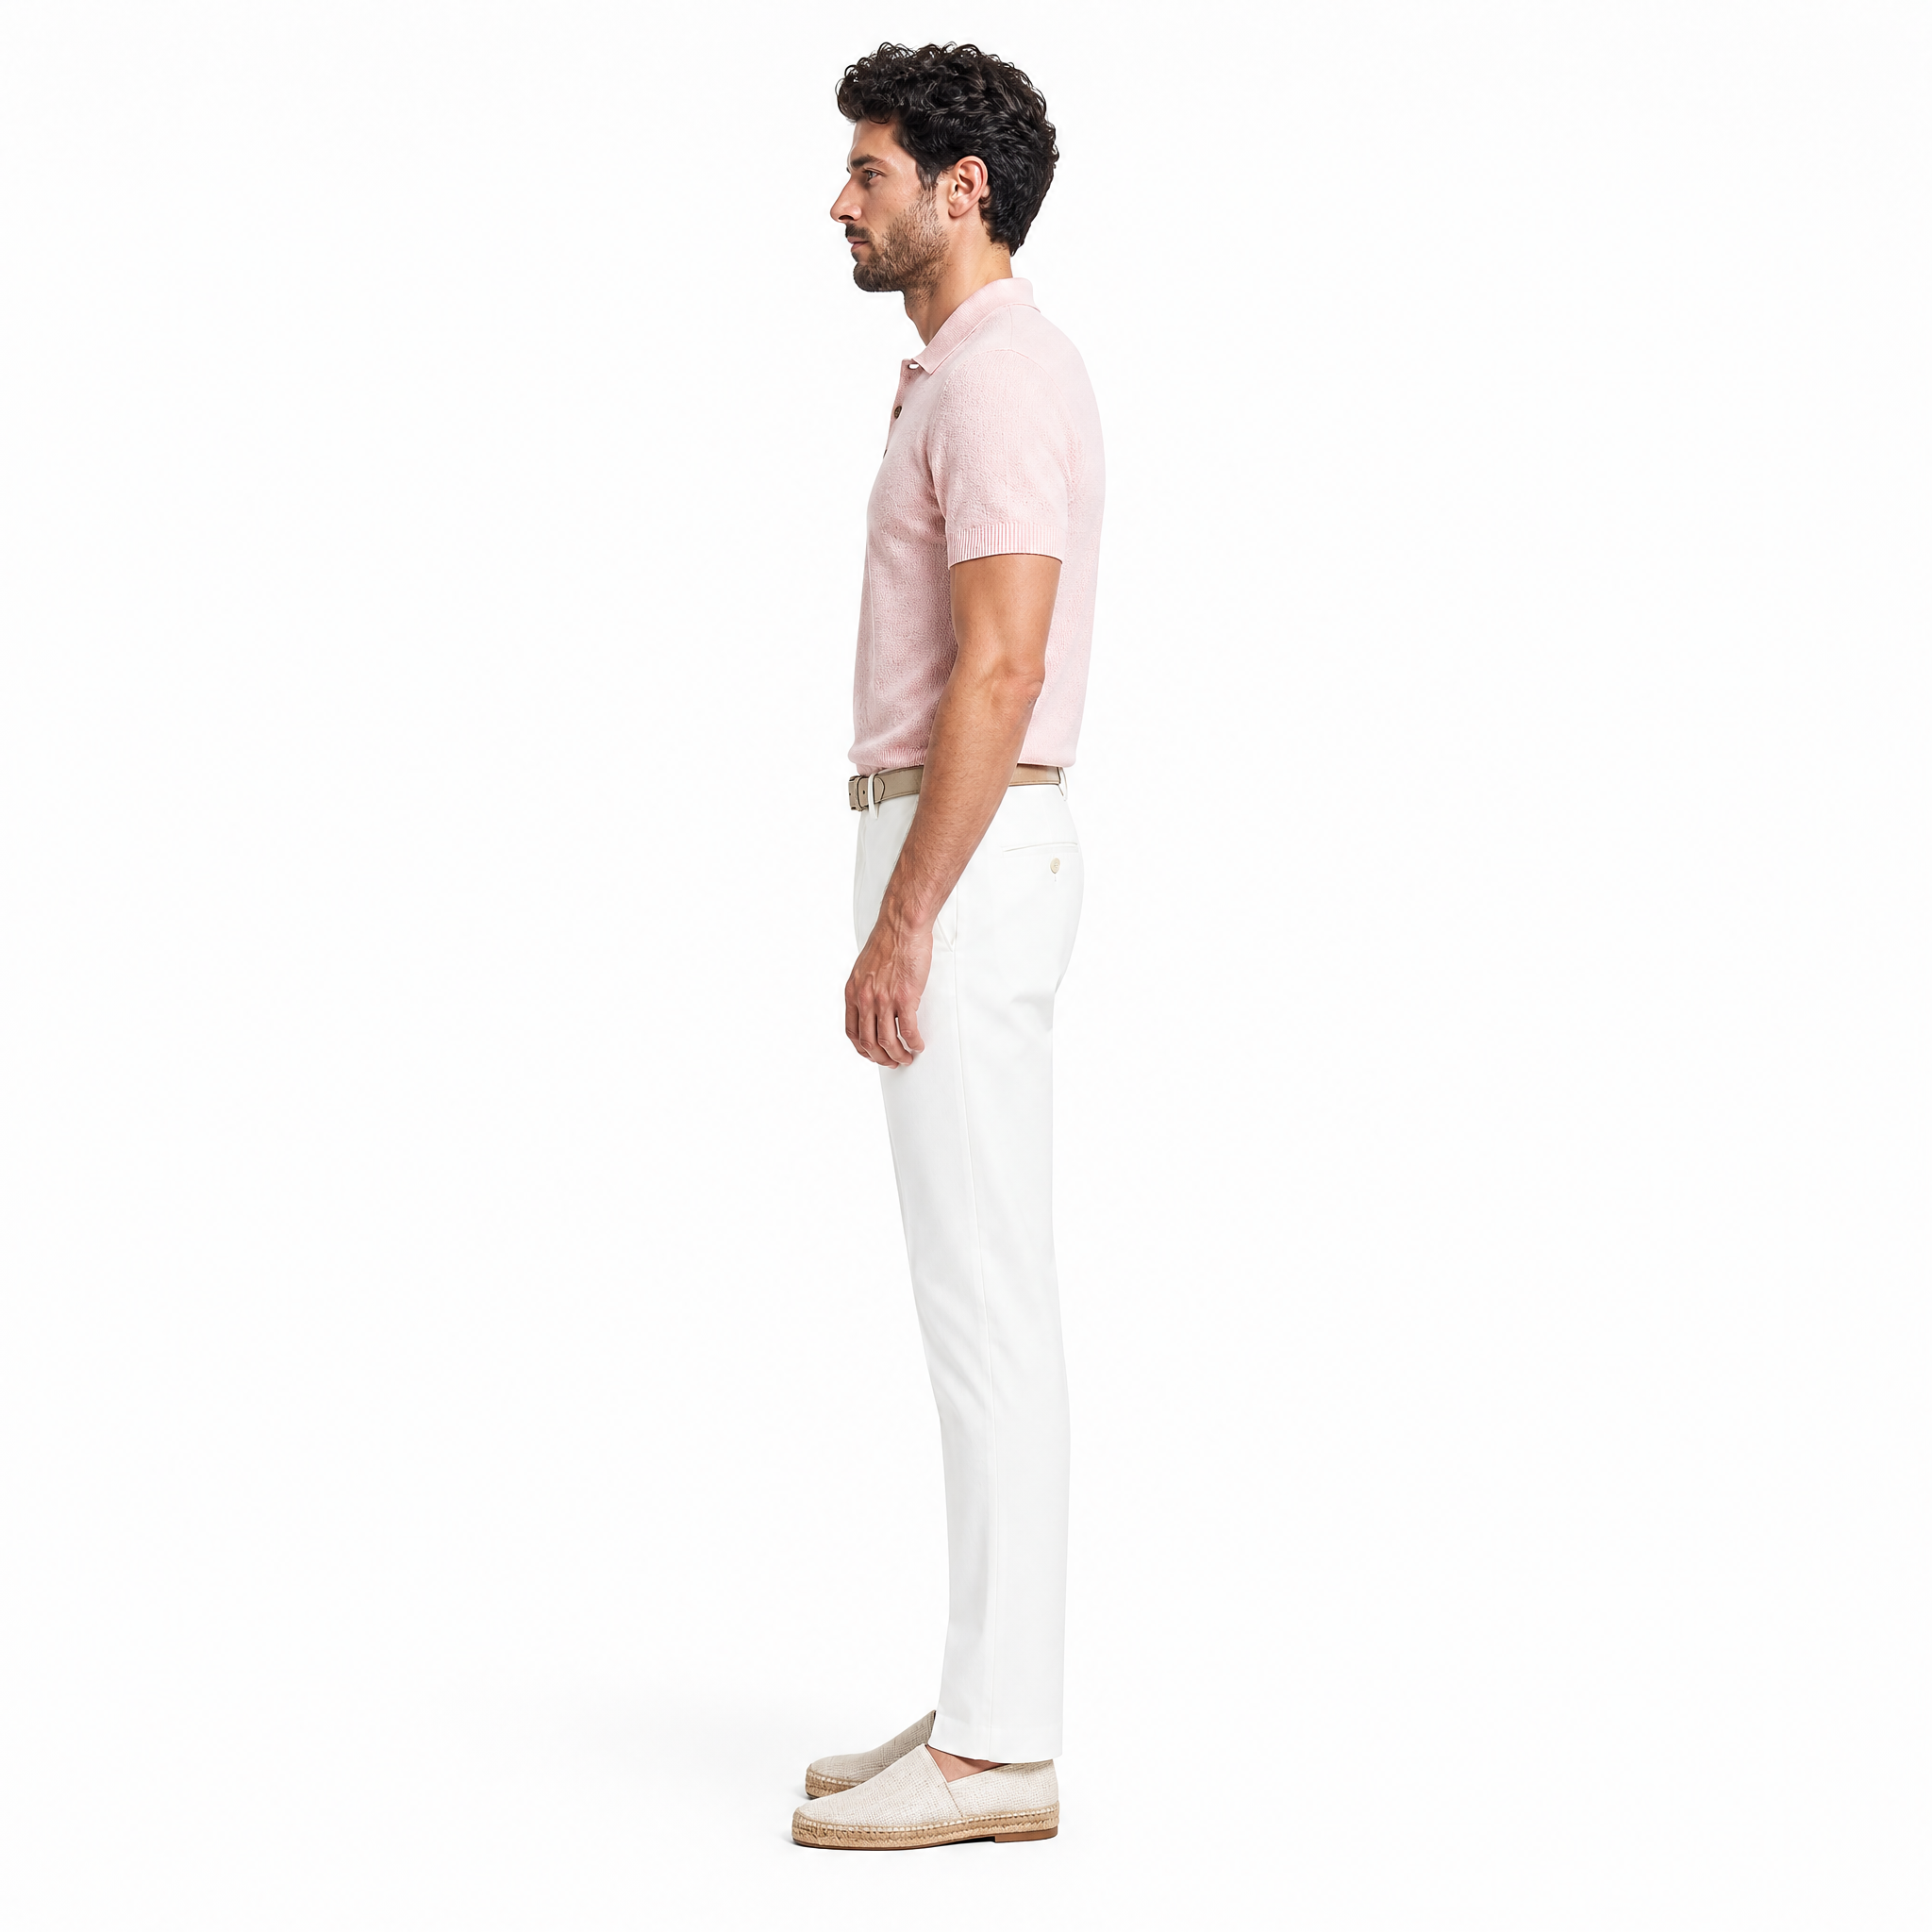
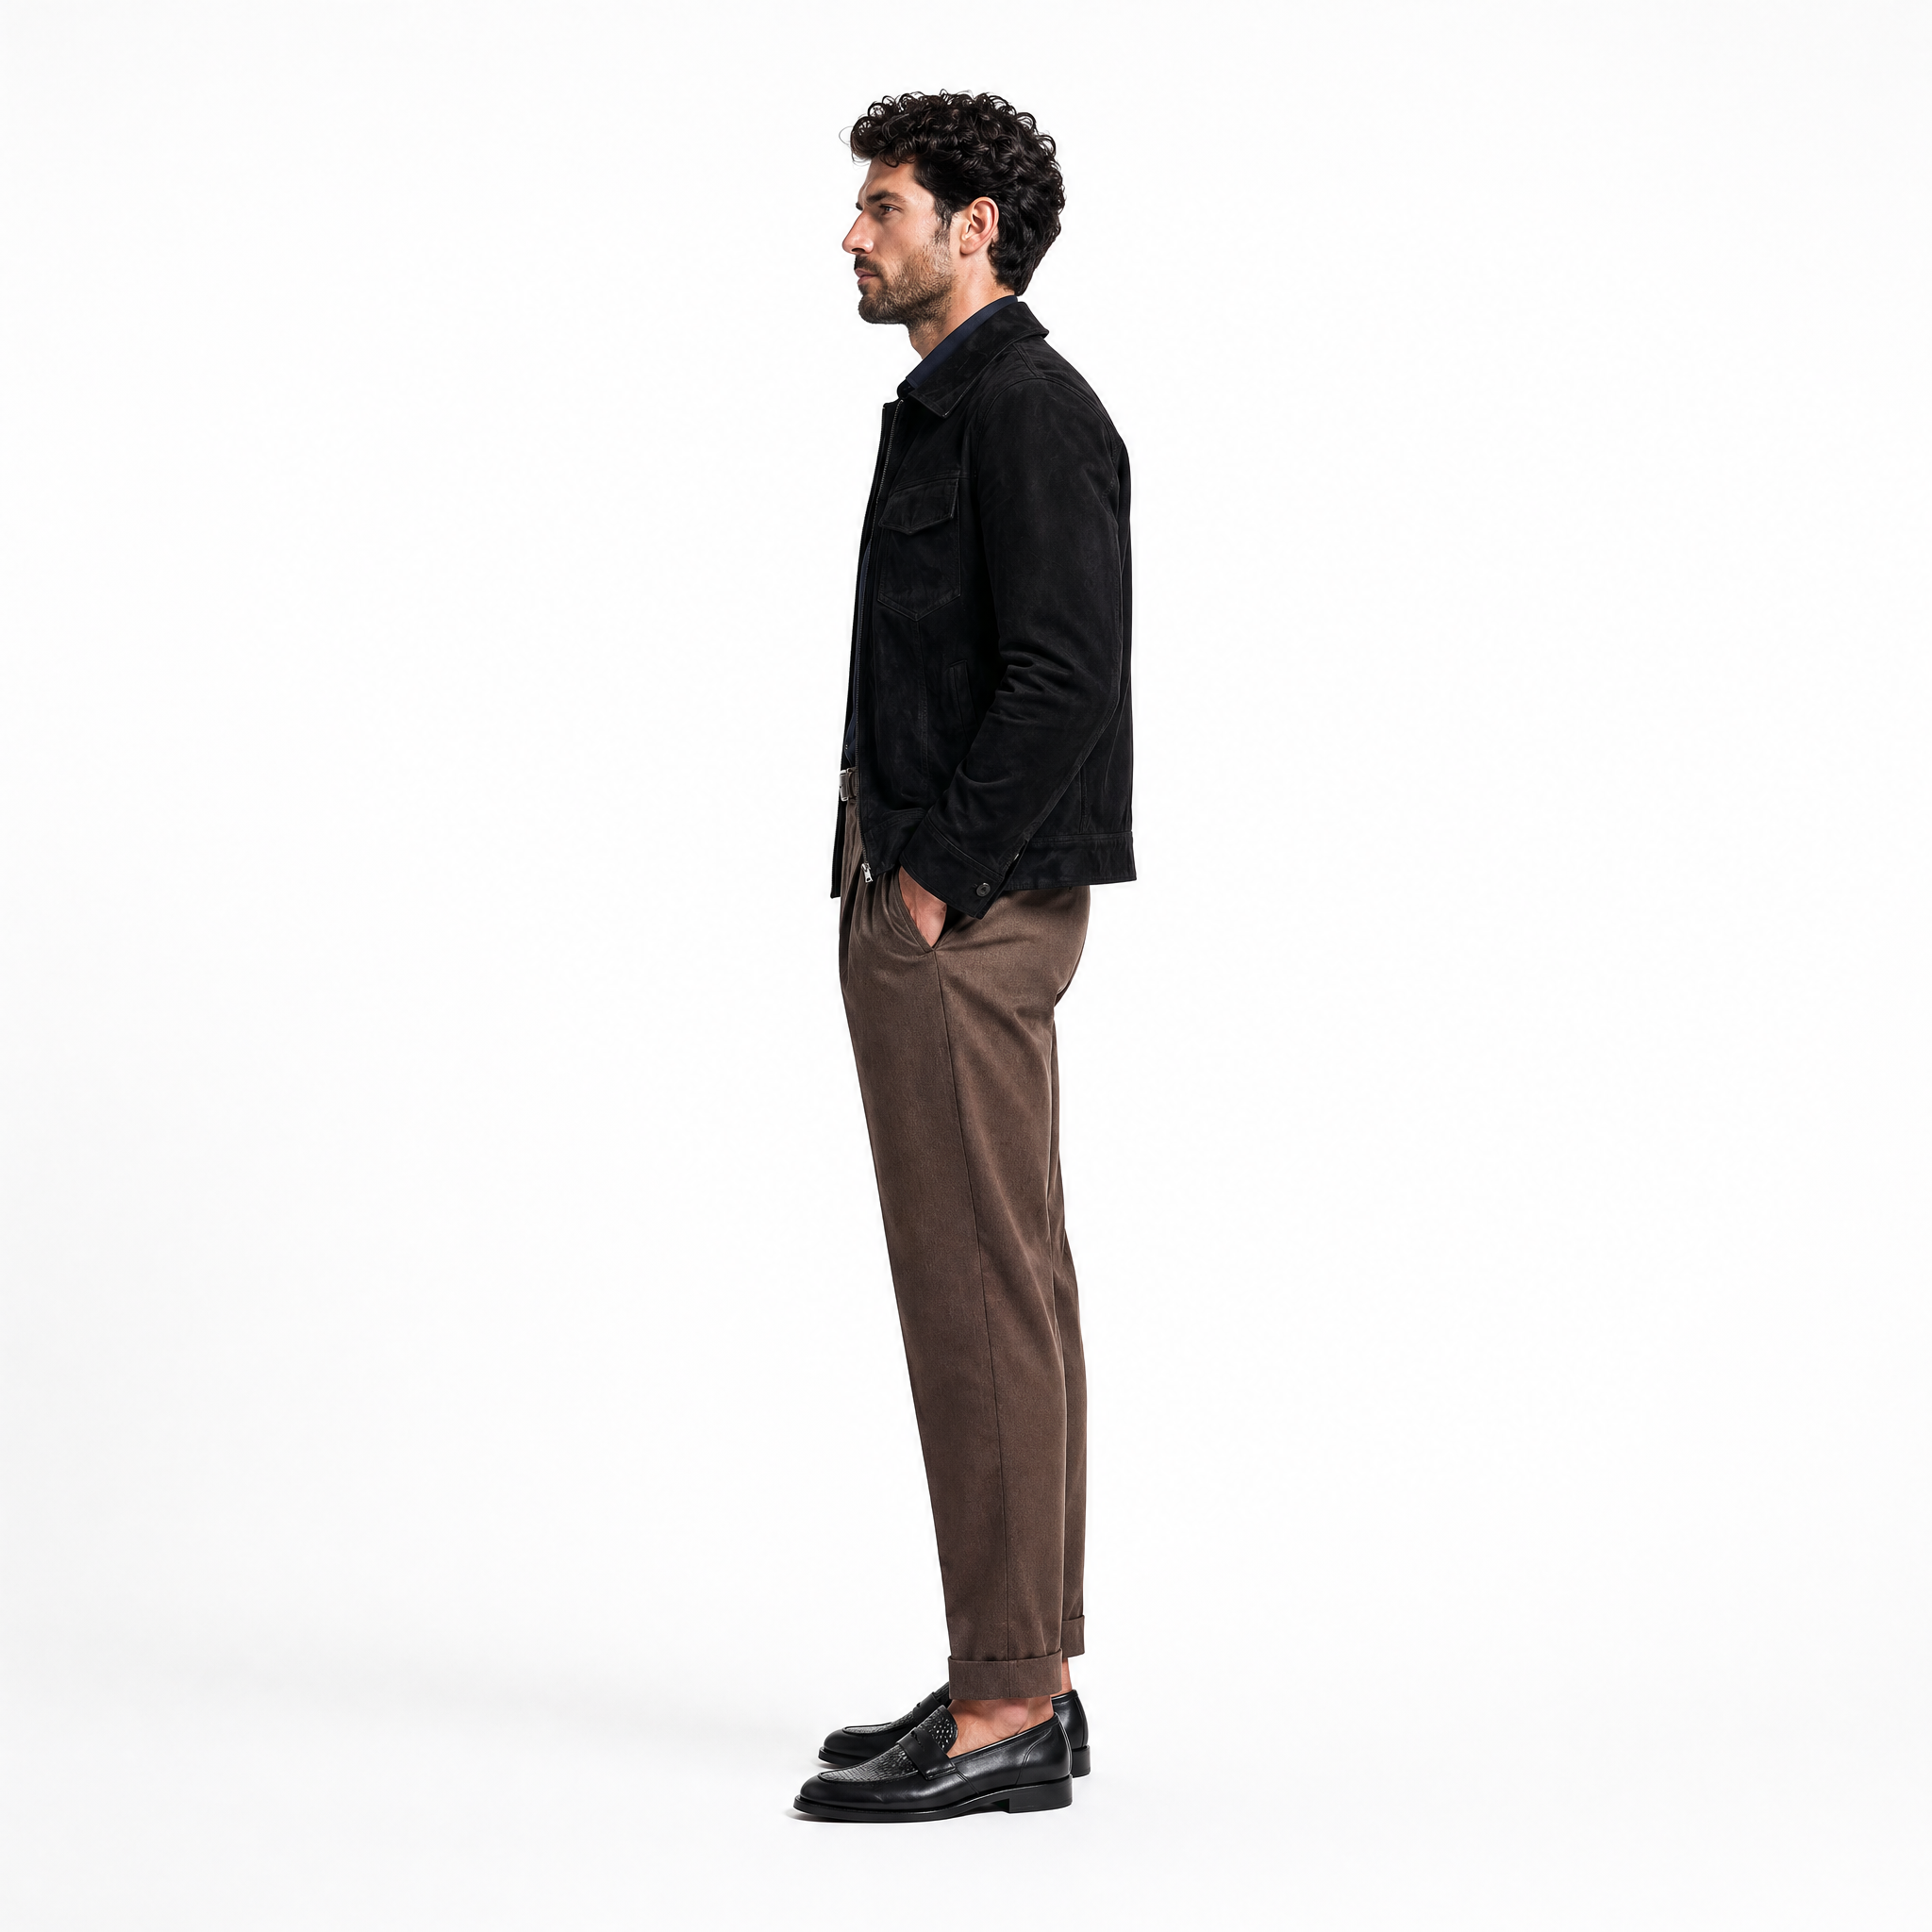
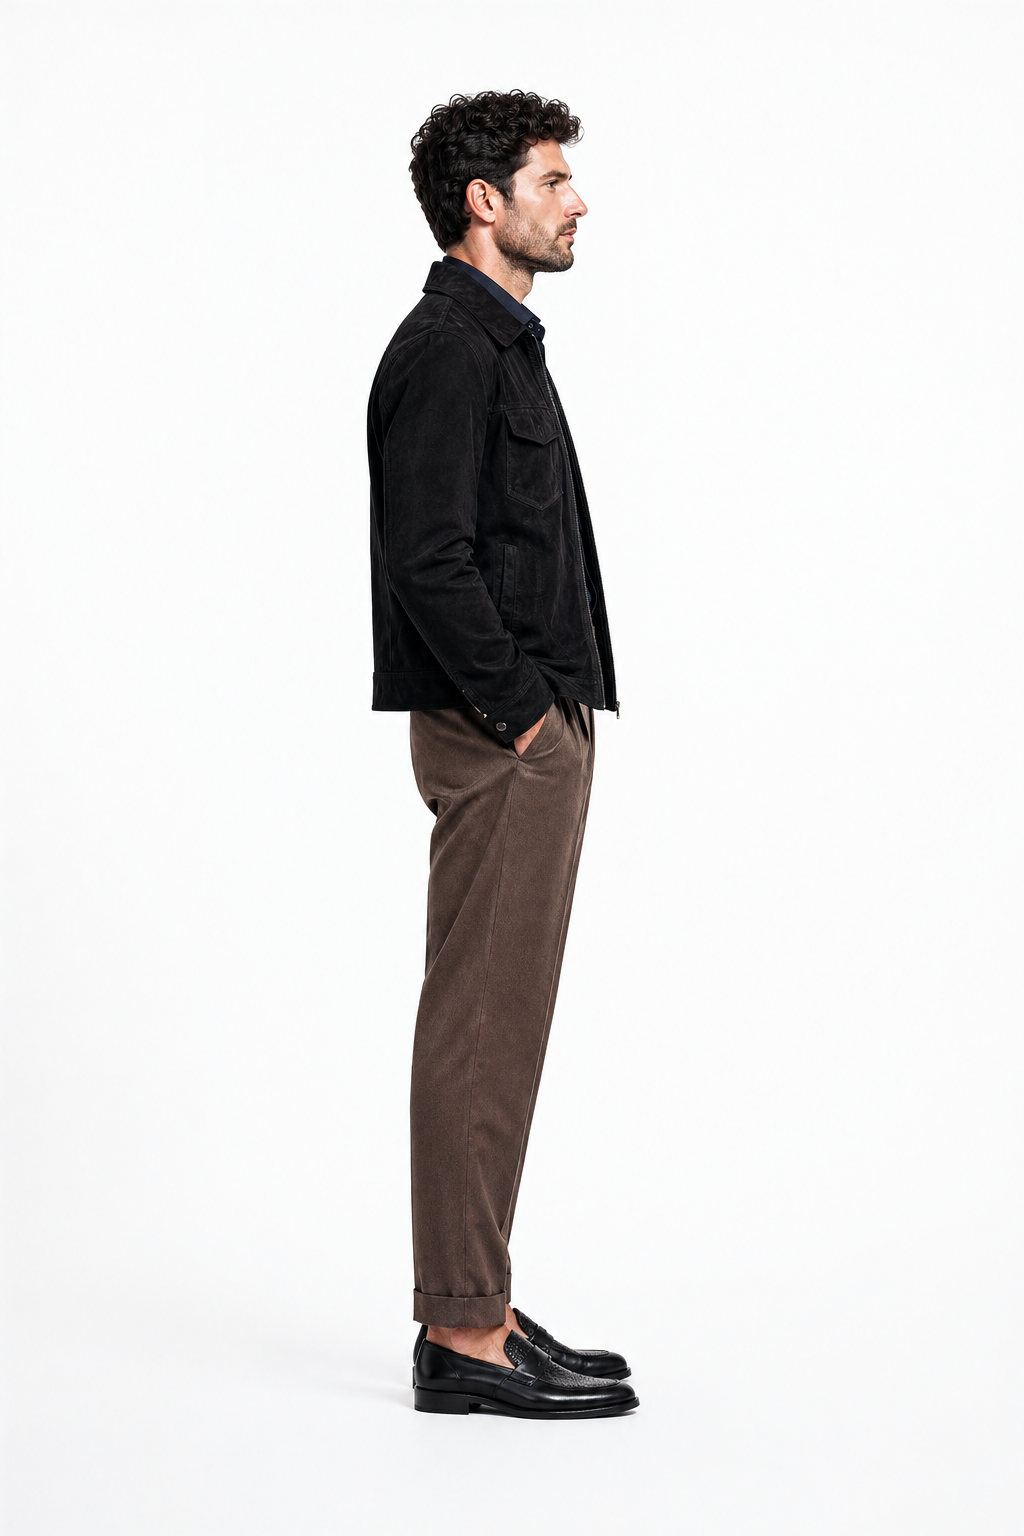
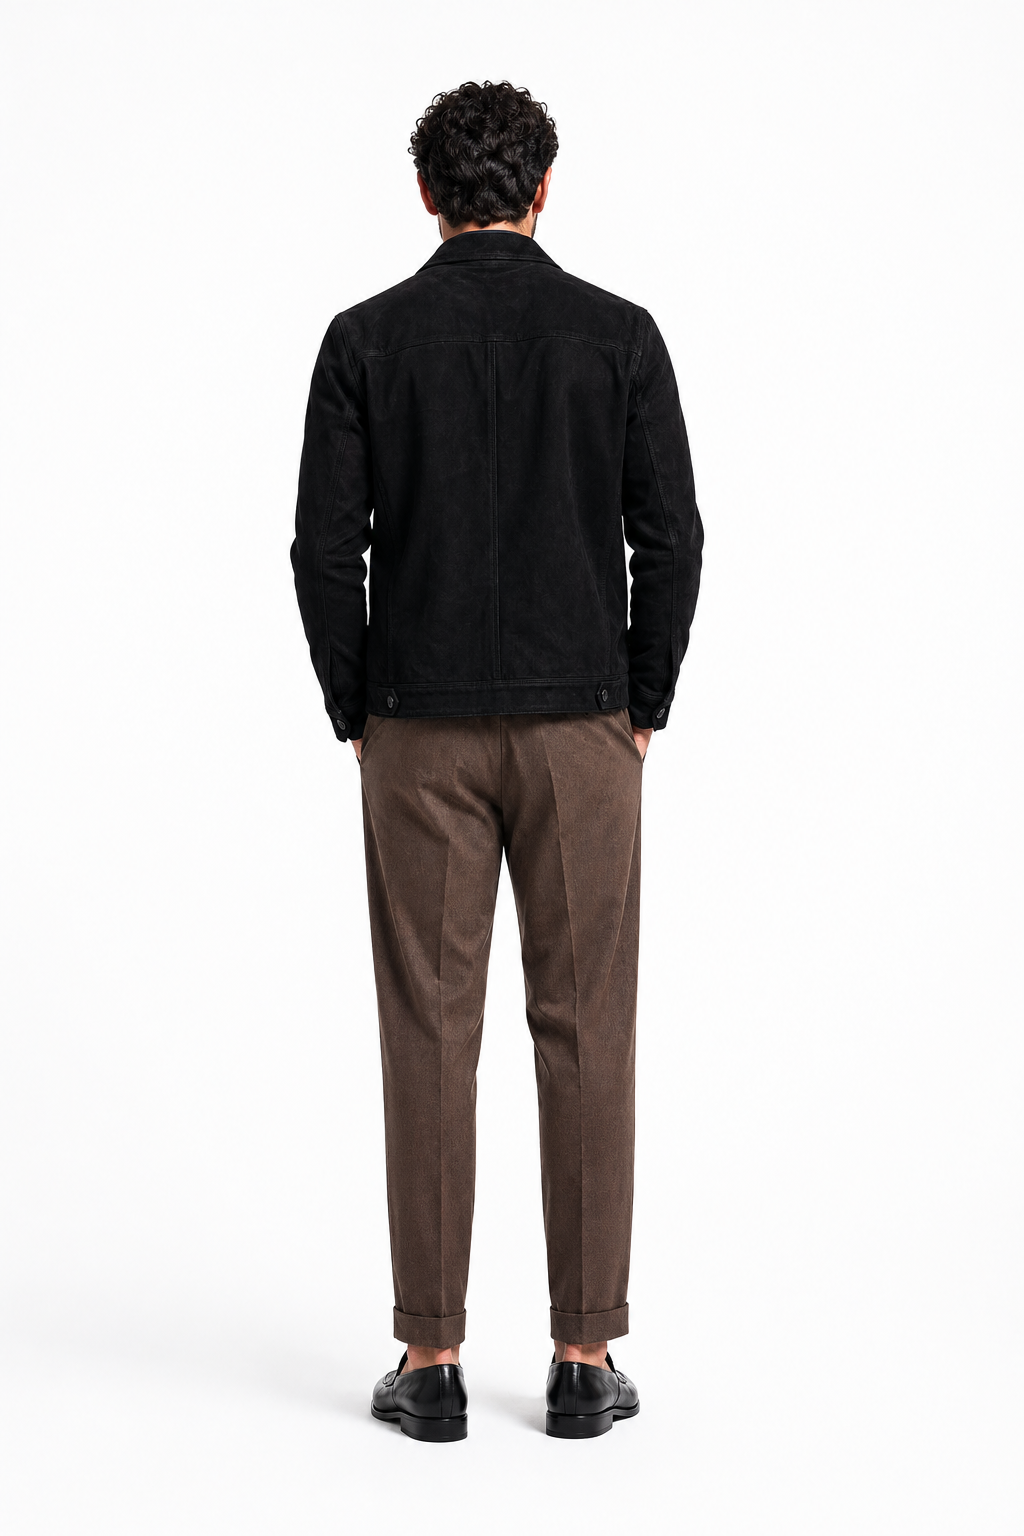
One photo session per garment.
For each garment in the outfit, you now run a dedicated session — same model, same scene, but a list of pose prompts that show the product from the angles e-commerce and editorial actually need.
Front, hero pose
Model standing centered, calm posture, full garment visible. The PDP main shot.
Three-quarter
Slight body rotation, hand placement that shows fit and detail. The "lifestyle" frame.
Detail / crop
Tighter framing on the garment — fabric, stitching, hardware. Used in carousels and paid creative.
Movement
Walking, looking off-frame, hand in pocket. Adds editorial range to the same look.
- Write each pose as one short paragraph — body, gaze, hands, framing
- 4–6 poses per garment is the sweet spot for a full PDP set + paid creative
- Keep the model and scene specs locked — only the pose prompt changes between frames

Generate with ChatGPT Image 2.
The pose prompts feed into the render node. We use ChatGPT Image 2 for fashion stills — it preserves fabric, hands, and product detail better than the alternatives at this price point, and it follows long structured prompts well, which is exactly what this workflow produces.
Run the render in batch — one job covers all the poses for a single garment. Cost lands around $0.40–0.80 per frame; a full 4–6-pose session is $2–4 per garment.
- Render 1–2 candidates per pose; keep the strongest
- Lock seeds once you have a winning frame for that look
- Hands and logos are still where you spend cleanup time — flag them on review
Export the hero frames.
Save out a high-resolution PNG master and a smaller JPEG variant per pose. The PNG is your archive. The JPEG is what feeds the CMS, the paid creative pipeline, and the motion step that follows.
{brand}_{sku}_{look}_{pose}.png from day one.
You'll thank yourself when the catalog hits 500 frames.
Make the still breathe.
Connect any exported hero frame to a video-generation node — we use Kling 2 for fashion motion. The result is a 3–6 second loop where the model takes a breath, turns slightly, the fabric moves in the wind. Same canvas, one extra branch.
Cost runs roughly $1.50–2.50 per clip. Use it for PDP hero loops, IG/TikTok organic, paid social — same source frame, three formats, one workflow.
- Keep the motion subtle — a small movement reads more "premium" than dramatic action
- Generate at 9:16 by default, then crop down to 1:1 and 16:9 from the same render
- Loop trimming: cut at the moment of stillness, not mid-motion
From flat product to campaign frame.
This is the simplest version of the workflow we run for fashion clients. From here you add: brand-specific calibration, batch generation across a full collection, automated brief-to-render hand-offs, and the analytics layer that tracks which renders convert. But the core canvas stays the same.
If you want help wiring this up for your brand — or a fully calibrated workflow built and handed over — we do that.